The Tack Geek Presents: English (and English-ish) Stirrups for Hypermobile Ankles
This article was originally written in March of 2023 for an equestrian group on Facebook with a significant number of group members being riders affected by Ehlers Danlos Syndrome, and other hypermobility-related conditions. As many have given me the feedback that this has been incredibly helpful information when it comes to choosing the right stirrup for the chronically ill equestrian, I’ve decided to reproduce my original post here in blog format as well for those who are not active users of social media.
My new HM stirrups arrived this week, so I figured as our resident Tack Geek and also as a hypermobile rider with permanent ankle, knee and hip issues, I’d make a post about my personal experiences finding the right stirrups for my needs. It’s worth noting that yes, a lot of the issues I have are a lot higher than the ankle/stirrup area – but are incurable, therefore I need to find adaptive equipment that allows me to do my best with what I have. I would strongly urge riders to consult with their saddle fitter to ensure their saddle isn’t the cause of any issues, and a physical therapist to address what can be fixed first before looking at adaptive equipment though.
I’ve deliberately not covered other stirrup styles, as I personally only use “English-ish” metal styles so I’m not able to provide first hand experience with those. Another stirrup design I would really like to try as it looks like it would suit my needs is the magnetic open sided Ophena stirrups – I’m actually hoping to trial some later this year, but I’m not comfortable passing comment on the design beyond simple observations until I do have some personal experience with them.
I’m super happy with the new HM stirrups already, and wouldn’t hesitate to recommend them to other riders with joint problems. I’ve been playing around with the idea of eventually creating a “tack library” of sorts for adaptive equipment – like the bit banks who allow you to rent and trial equipment, so you can then buy the same model with confidence since you know from your trial that it will work for you and your horse. There’s not much around in the way of adaptive equipment, and near impossible to try before you buy currently.
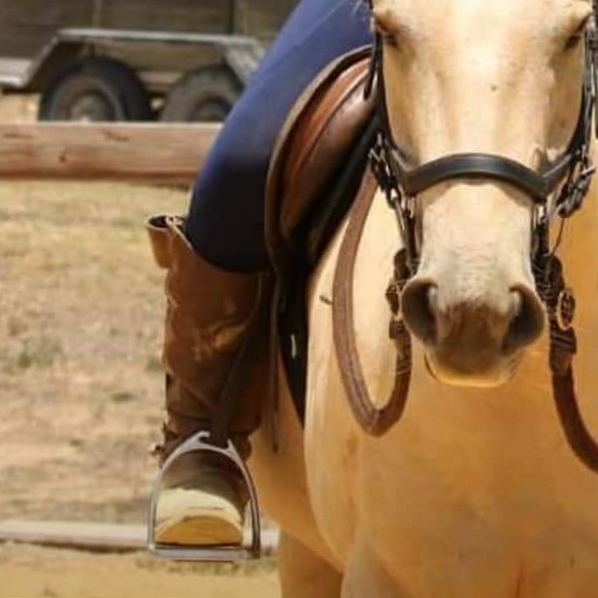
These actually destabilised my lower legs significantly, and caused me to brace with my leg in an attempt to compensate and create some semblance of stability, and send my feet forward in a chair seat. While I’ve never had a perfect lower leg, I had almost no leg control whatsoever when using these, and had to drop my stirrups for improved stability instead.


Please note: this is not my horse or saddle, hence my leg being jammed by the excessive knee block which has been positioned for a shorter rider. Rider saddle fit is another extremely important factor for the spoonie rider to consider, and I’ll be featuring a similar post on saddles soon.
I believe the HM stirrups are legal for English competition, but Icelandic stirrups are not. The HM are significantly heavier than the Icelandics, which can help provide additional stability to the rider – surprisingly though, they weigh the same as the standard MDC irons. I imagine they would be lighter than the wide tread MDC variety.
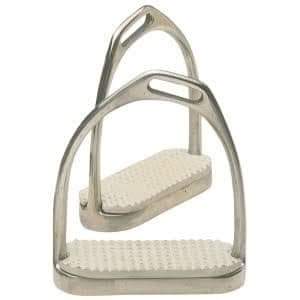
Icelandic stirrups also have the benefit of being very affordable – I actually got mine as a free sample from my bit maker, but they can typically be found for around $40-$80 AUD. They are very, very lightweight – weighing less than even a plain traditional Fillis stirrup, which may cause some leg instability for a rider with reduced leg control.
The HM stirrups have just gone up in price to £80, but even factoring in international shipping, they are still relatively affordable compared with other relief style stirrups currently on the market.

I do not personally own this style, but two horses I ride regularly both have these on their saddles. I do like them well enough, but I personally don’t love the price point – and I feel like I can get my physical needs met with more affordable styles. That said, I’ve also included two styles that are even more expensive, but I feel have more to offer feature wise in comparison.

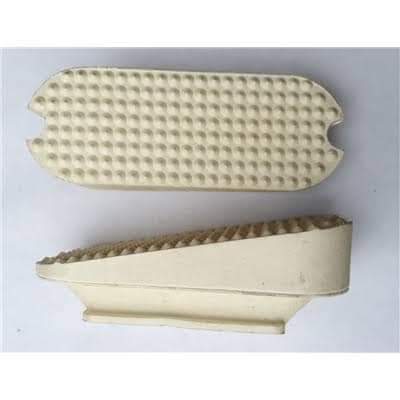
Traditional Fillis stirrups, which my body hates passionately. I’ve included this only for context with the next photo – by replacing the flat tread with the wedge tread (next photo), you can mimic the effect of the offset Fillis style (previous photo) for the very low cost of replacing the treads ($10-15 AUD).
It’s an easy and extremely affordable way to see if an offset stirrup will help reduce your joint pain in the saddle – if the wedge tread helps, then you can confidently invest in a pair of the offset Fillis stirrups, or try the 90° top offset as they provide relief in similar ways.
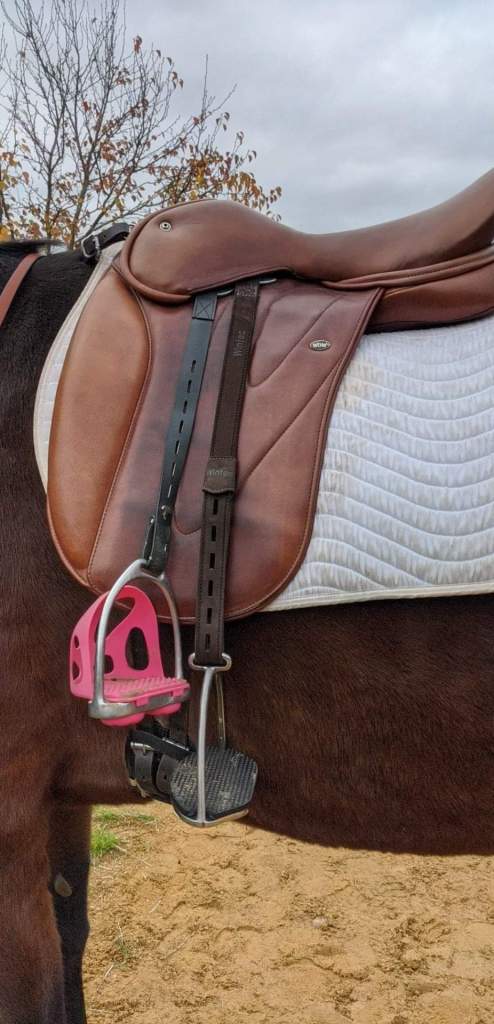
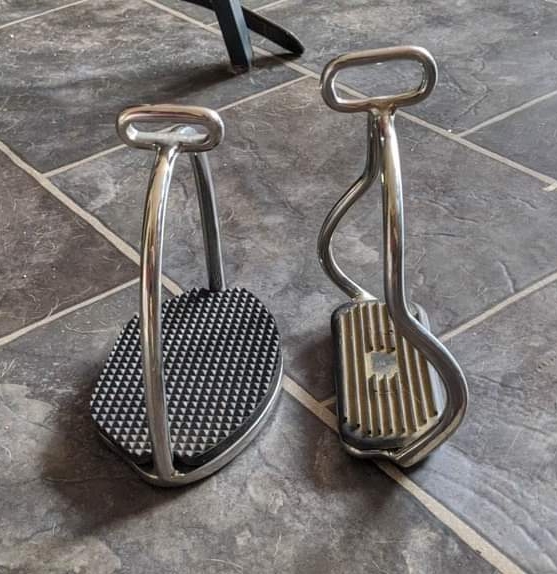
Note the position of the stirrup treads, and the position of the leather slot on the offset (pink) stirrup – while the tread isn’t perfectly even like the HM stirrup, you can clearly see how it is at least significantly more even than it would be if it were a regular Fillis stirrup without the offset. I’ll try to remember to take a comparison photo soon showing the offset Fillis versus a regular Fillis stirrup.
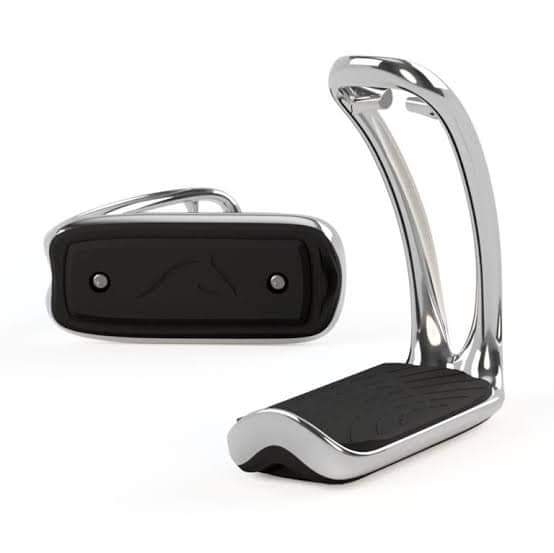
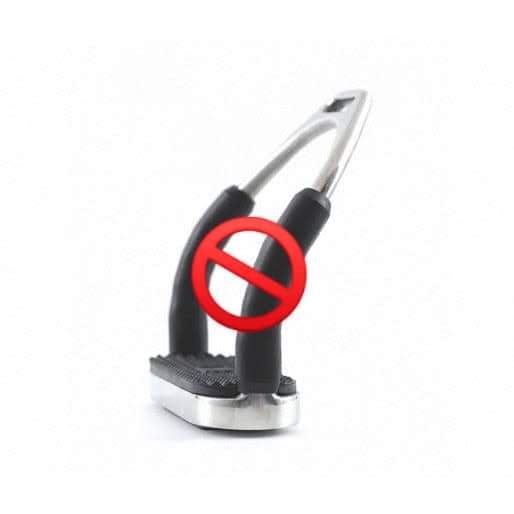
My main concern with this style is the risk of being caught up on a fence or gate while riding past – as the open side makes this more likely than one that is closed on both sides. But I can also appreciate that this open side is a valuable safety feature in the event of a fall

Where to buy?
Note: indicated prices are in AUD, and accurate at the time of publishing (October 2023)
HM Wide Tread Stirrups – $157 AUD https://www.hmsaddles.com/products/hm-stirrup-irons
Icelandic Stirrups – $59 AUD https://www.horsebiz.net.au/equestrian-shop-online/equestrian-and-horse-riding-accessories/stirrups-1/black-double-bend-stirrup-irons
MDC Comfort Stirrups – $359 AUD https://www.ashbree.com.au/mdc-comfort-stirrups/
Wedge Tread for standard Fillis Stirrups – $14.95 AUD https://www.ashbree.com.au/rubber-slanting-stirrup-treads/
Offset Fillis Stirrups – $79.95 AUD https://jamessaddlery.com.au/product/offset-fillis-stirrups/
Ophena S Magnetic Safety Stirrups – from $529 AUD https://ophena.com/collections/magnetic-stirrups-and-accessories/products/ophena-s
Freejump Soft’Up Pro – from $590 AUD https://www.freejumpsystem.com/en/produit/softup-pro-6/